


Uganda contractors who use the same binding wire diameter for every rebar size face three problems: wire breakage during concrete pouring, worker fatigue from hand-tying, and material waste from mismatched specifications. Understanding how to match wire diameter to rebar size helps projects run smoothly and keeps costs under control.
Moses used to buy only 2.0mm wire until he noticed different rebar sizes needed different diameters. Buyers like him, who need clear guidance on construction binding wire specifications for Uganda's construction sites, can find detailed specifications on our product page: https://mfgwiremesh.com/metal-wire/galvanized-iron-wire/
I learned something important about binding wire this year. My friend Moses, a contractor in Kampala, showed me why matching wire diameter to rebar size matters more than I thought.
Use 1.2mm wire for rebar under 12mm, 1.6mm wire for 12-20mm rebar, and 2.0mm wire for rebar over 20mm. Matching binding wire diameter to rebar size prevents wire breakage during concrete pouring, reduces worker fatigue, and saves material costs on construction sites.
Moses used to buy only one size of binding wire. He thought bigger was always better. But his workers complained, and wire broke during concrete work. Then he changed his approach.
Why Does Binding Wire Diameter Matter for Different Rebar Sizes?
I used to think one wire size worked for everything. Moses proved me wrong last year. His projects had problems with wire breaking and slow work.
Matching wire diameter to rebar size ensures proper tensile strength for structural stability while maintaining workability for manual tying. Oversized wire wastes money and exhausts workers, while undersized wire breaks under vibration during concrete pouring.
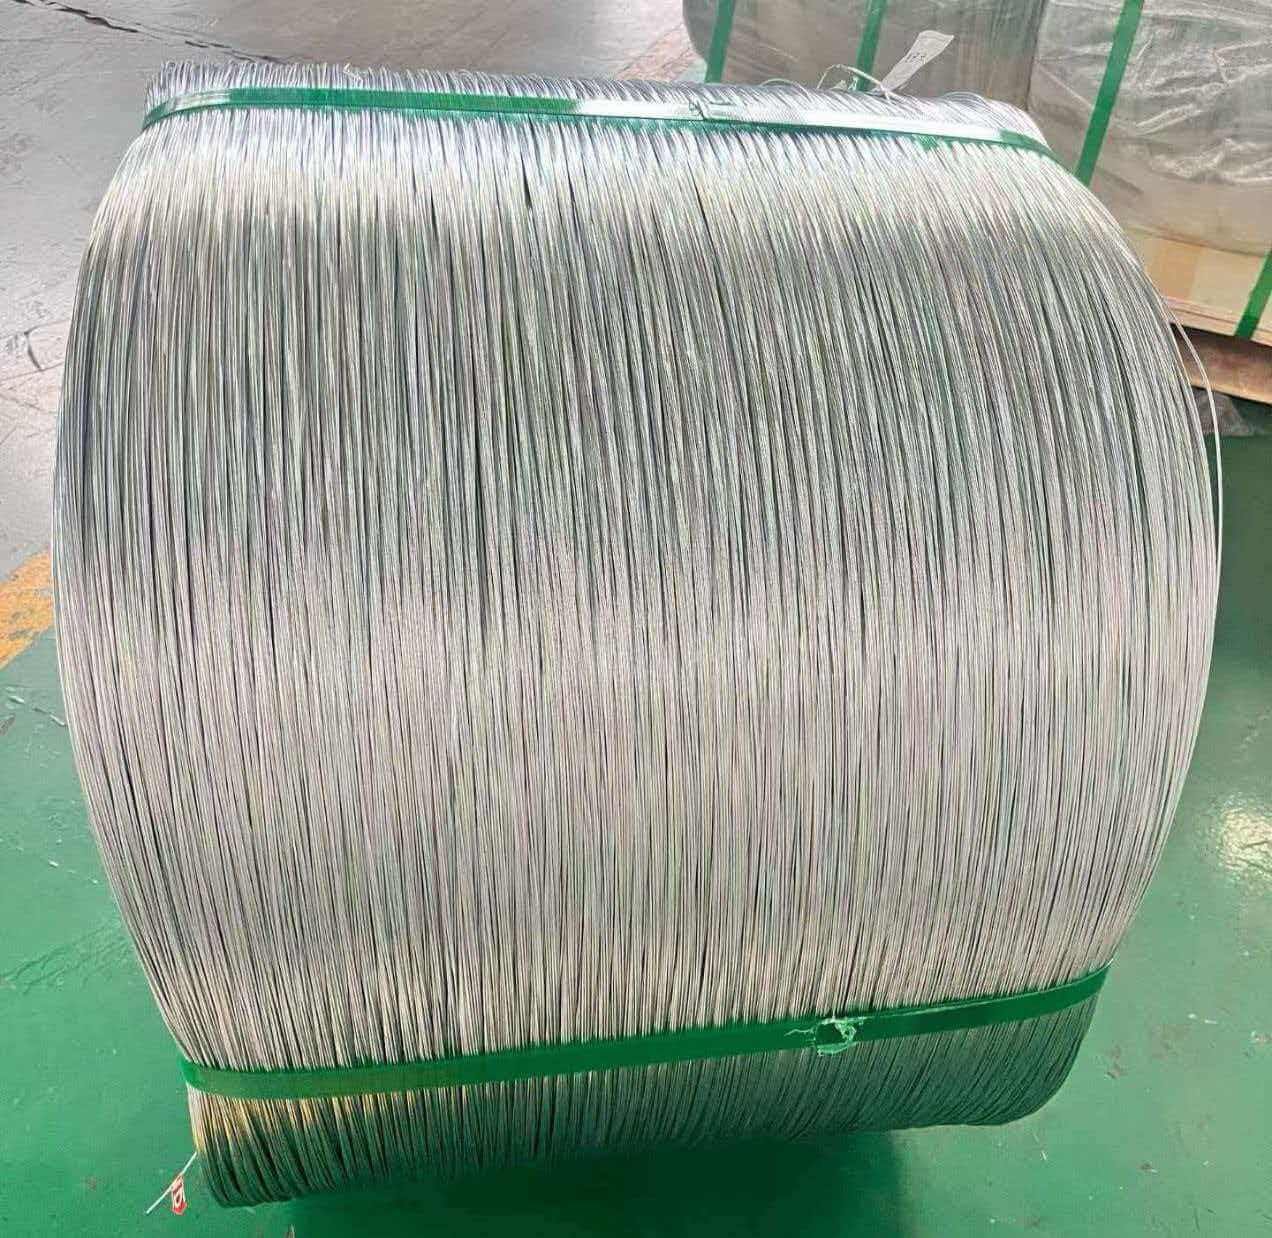
When workers tie rebar, they twist the wire. Thicker wire requires more force to twist. A 2.0mm wire needs about three times more force than a 1.2mm wire. For small rebar (8mm or 10mm), workers spend extra effort twisting thick wire. Their hands hurt after an hour. Productivity drops.
But thin wire on thick rebar creates another problem. During concrete pouring, vibrators create intense shaking. The concrete weighs heavily on the rebar cage. A 1.2mm wire holding 25mm rebar will snap. Moses lost two days of work when his foundation cage collapsed because he used 1.4mm wire on 20mm rebar.
Here is the relationship between rebar size and recommended wire diameter:
| Rebar Diameter | Recommended Wire Diameter | Why This Works |
|---|---|---|
| 6mm - 10mm | 1.2mm | Easy to twist, sufficient strength for light bars |
| 12mm - 16mm | 1.6mm | Balanced workability and holding power |
| 18mm - 20mm | 1.6mm - 2.0mm | Needs extra strength for vibration resistance |
| 22mm - 32mm | 2.0mm - 2.5mm | Maximum strength for heavy structural elements |
Moses now orders three different wire sizes for every project. He separates them in storage. His foreman knows which wire goes with which rebar. The system works.
What Happens When You Use Wrong Wire Diameter?
I saw the consequences myself at Moses's site. Wrong wire sizes create specific problems. Each mismatch has its own failure pattern.
Using oversized wire on thin rebar causes worker fatigue, reduced tying speed, and inconsistent knot quality. Using undersized wire on thick rebar leads to wire breakage during concrete vibration, structural cage deformation, and potential safety hazards.
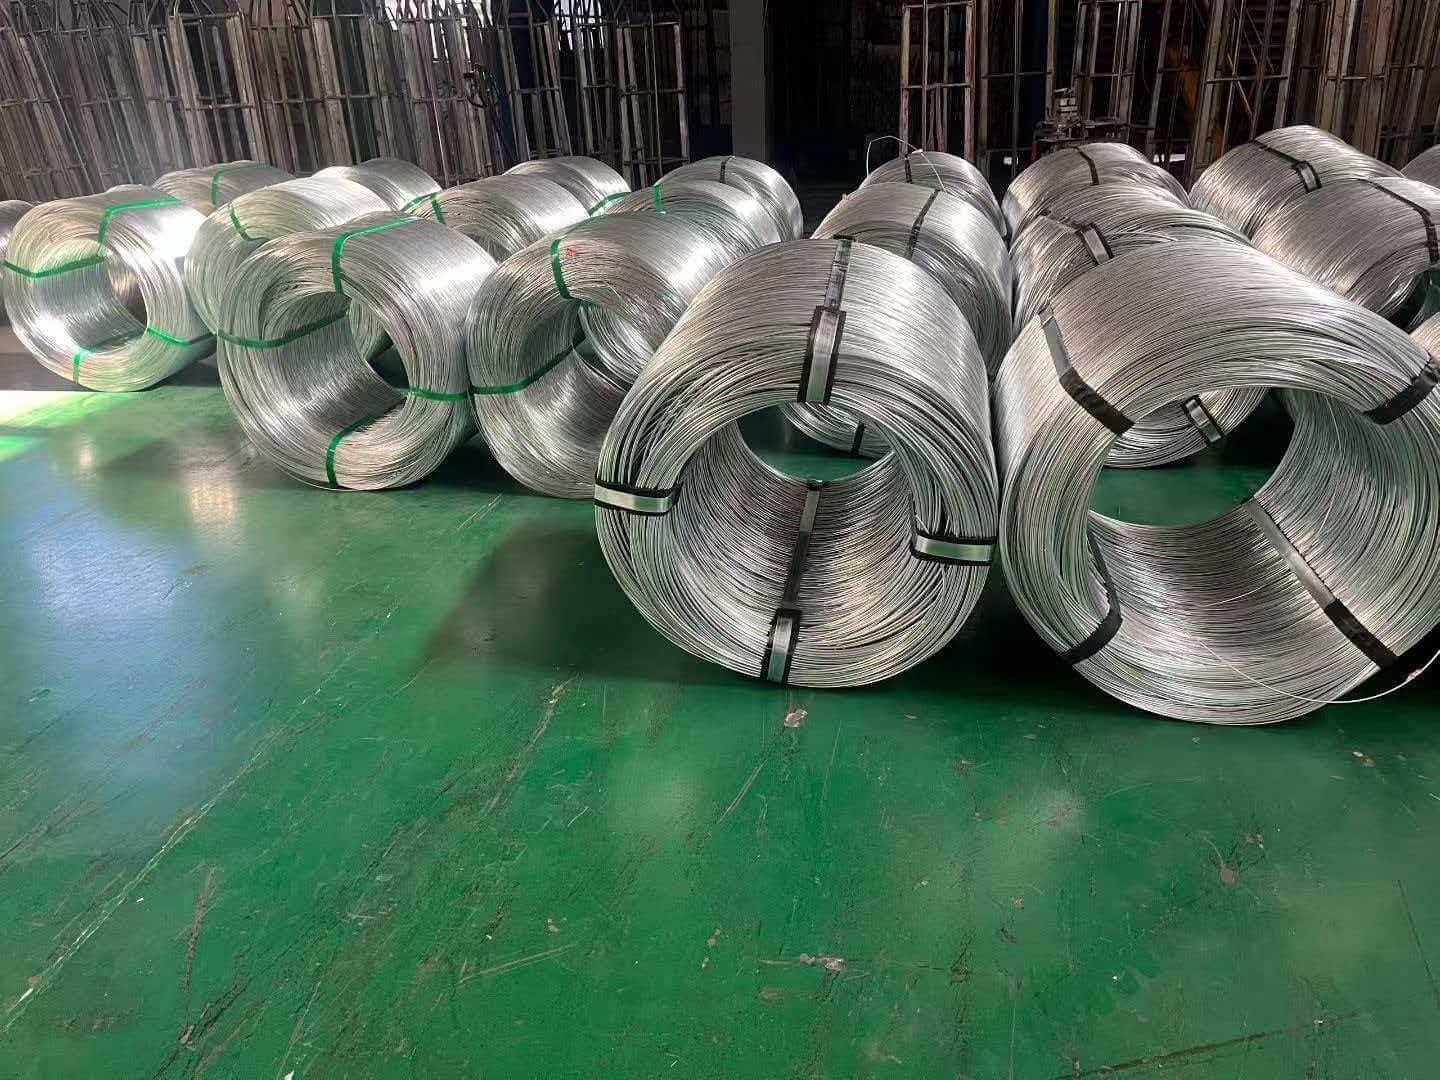
Moses shared his experience from a commercial building project in Kampala. He bought 2.0mm wire for everything because the supplier gave him a discount for bulk purchase.
The ground floor used 10mm rebar for slabs. Workers complained about hand pain. Tying speed dropped from 100 joints per hour to 60 joints per hour. Moses calculated the cost. Labor efficiency loss cost him more than the wire discount saved.
The foundation used 25mm rebar. He had leftover 1.4mm wire from an old project. The foreman used it to save money. During concrete pouring, thirty percent of the ties broke. The rebar cage shifted. Moses had to stop pouring, retie everything, and resume the next day. The delay cost him penalties from the client.
I learned specific failure indicators:
Wire too thick for rebar:
- Workers take over three seconds per knot (normal is one second)
- Knots look loose because wire springs back
- Hand tool pliers show excessive wear
- Workers request frequent breaks
Wire too thin for rebar:
- Wire breaks with a sharp snap during vibration
- Multiple breaks occur in the same area
- Rebar spacing increases beyond design tolerance
- Concrete workers report cage movement during pour
Moses now inspects every delivery. He checks wire diameter with calipers. He maintains separate storage areas. His foreman carries a printed chart showing which wire matches which rebar.
How Do Uganda Contractors Calculate Wire Quantity for Different Rebar Sizes?
I asked Moses about quantities. Knowing the right diameter is one thing. Ordering the correct amount is another challenge.
Calculate binding wire quantity by counting intersection points, multiplying by wire length per tie (35cm for small rebar, 45cm for large rebar), adding fifteen percent waste allowance, then converting to coil weight based on wire diameter.
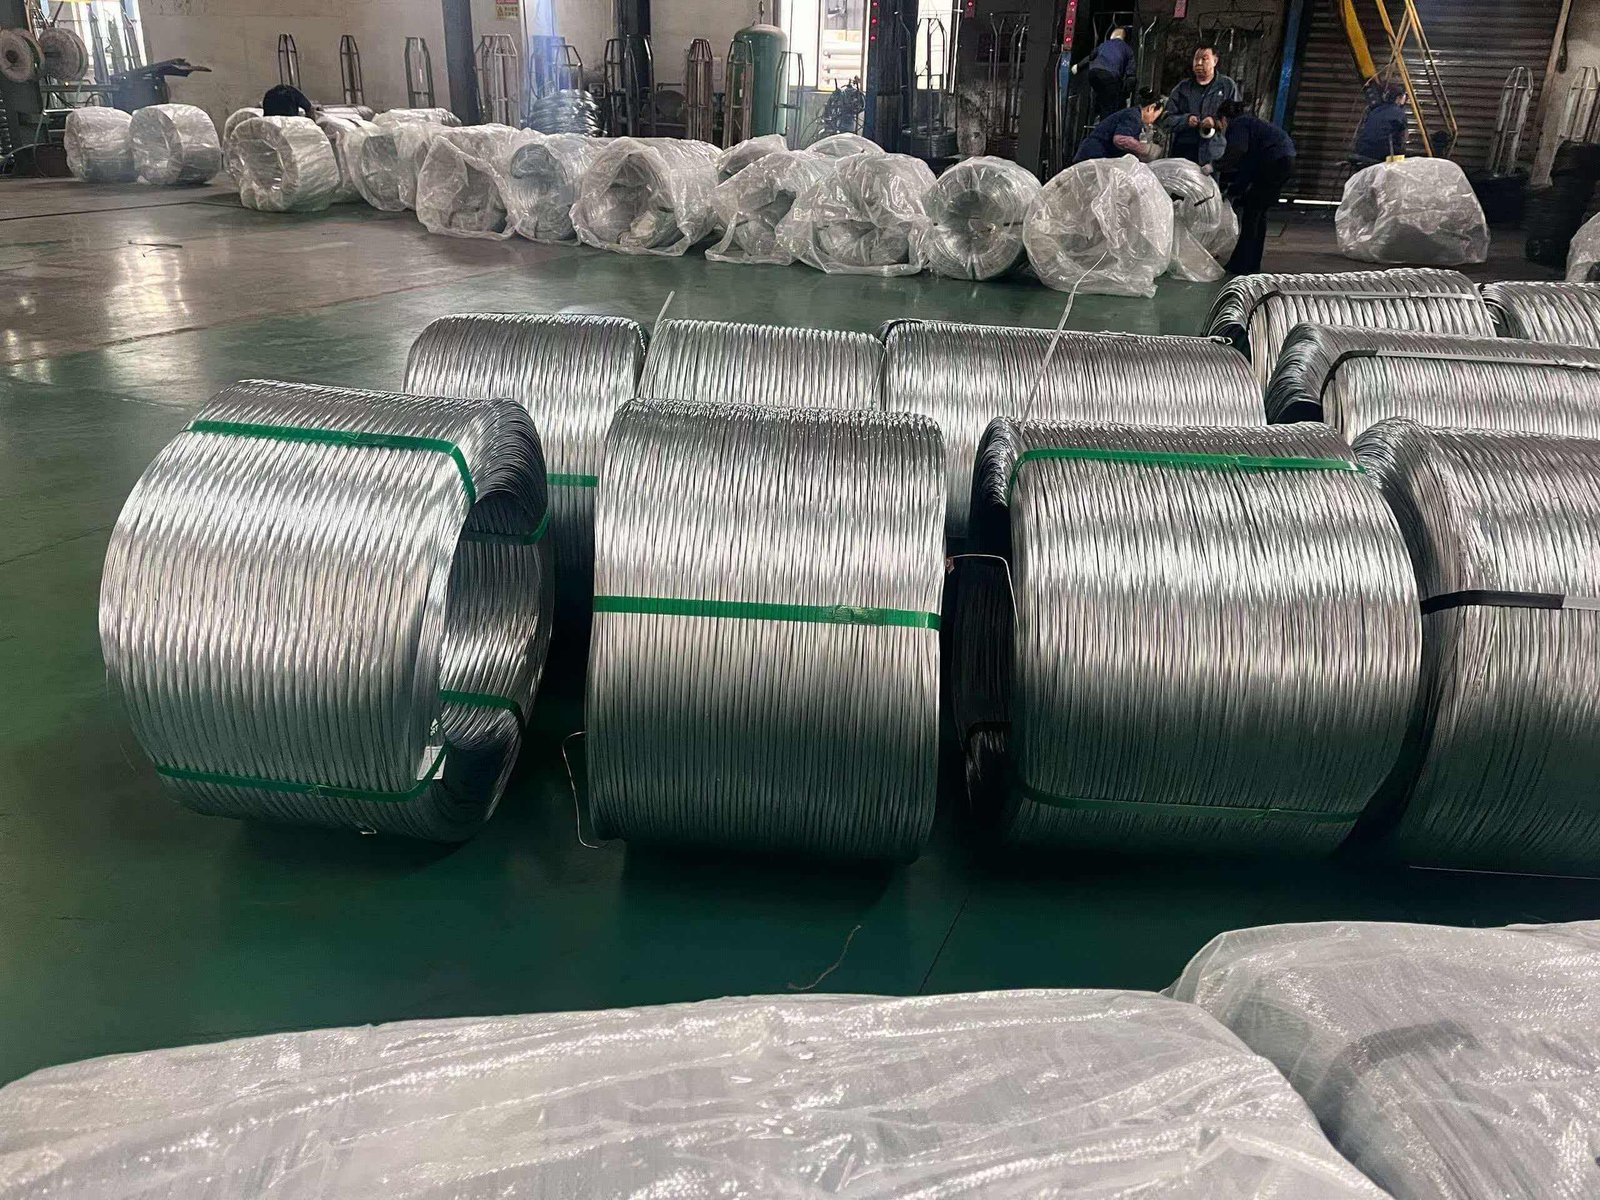
Moses taught me his system. I use it for every project now.
First, count the rebar intersections. For a slab with 200mm spacing in both directions, a 10m x 10m area has roughly 2500 intersection points. Not every point needs tying. Alternate points work for most slabs. So I need wire for 1250 ties.
Second, determine wire length per tie. This depends on rebar diameter.
For 10mm rebar with 1.2mm wire, each tie uses 30cm of wire plus 5cm for waste. Total is 35cm per tie.
For 20mm rebar with 2.0mm wire, each tie uses 40cm plus 5cm waste. Total is 45cm per tie.
Moses adds a safety margin. Workers drop wire pieces. Some ties need redoing. He adds fifteen percent to his calculation.
Here is his quantity table:
| Project Element | Rebar Size | Wire Diameter | Ties per Ton of Rebar | Wire Weight Needed |
|---|---|---|---|---|
| Slab reinforcement | 10mm | 1.2mm | 2000 ties | 8kg per ton rebar |
| Beam stirrups | 16mm | 1.6mm | 1500 ties | 12kg per ton rebar |
| Column ties | 20mm | 2.0mm | 1200 ties | 15kg per ton rebar |
| Foundation cage | 25mm | 2.0mm | 1000 ties | 18kg per ton rebar |
I verified these numbers on three projects. They work within five percent accuracy. Moses orders slightly more than calculated. Leftover wire costs less than running short during critical pours.
One detail matters for ordering. Wire comes in coils. A 25kg coil of 1.2mm wire contains more length than a 25kg coil of 2.0mm wire. The calculation needs adjustment based on wire diameter and coil weight.
What Quality Standards Should Uganda Contractors Check for Binding Wire?
Moses had a bad experience with cheap wire last year. The wire looked fine in the coil. But it broke easily during tying. He learned to check quality before accepting delivery.
Check binding wire tensile strength (minimum 350 MPa or Megapascals for mild steel), zinc coating thickness (minimum 20g/m² for galvanized wire), diameter tolerance (within ±0.04mm), and surface smoothness to ensure reliable performance on construction sites.
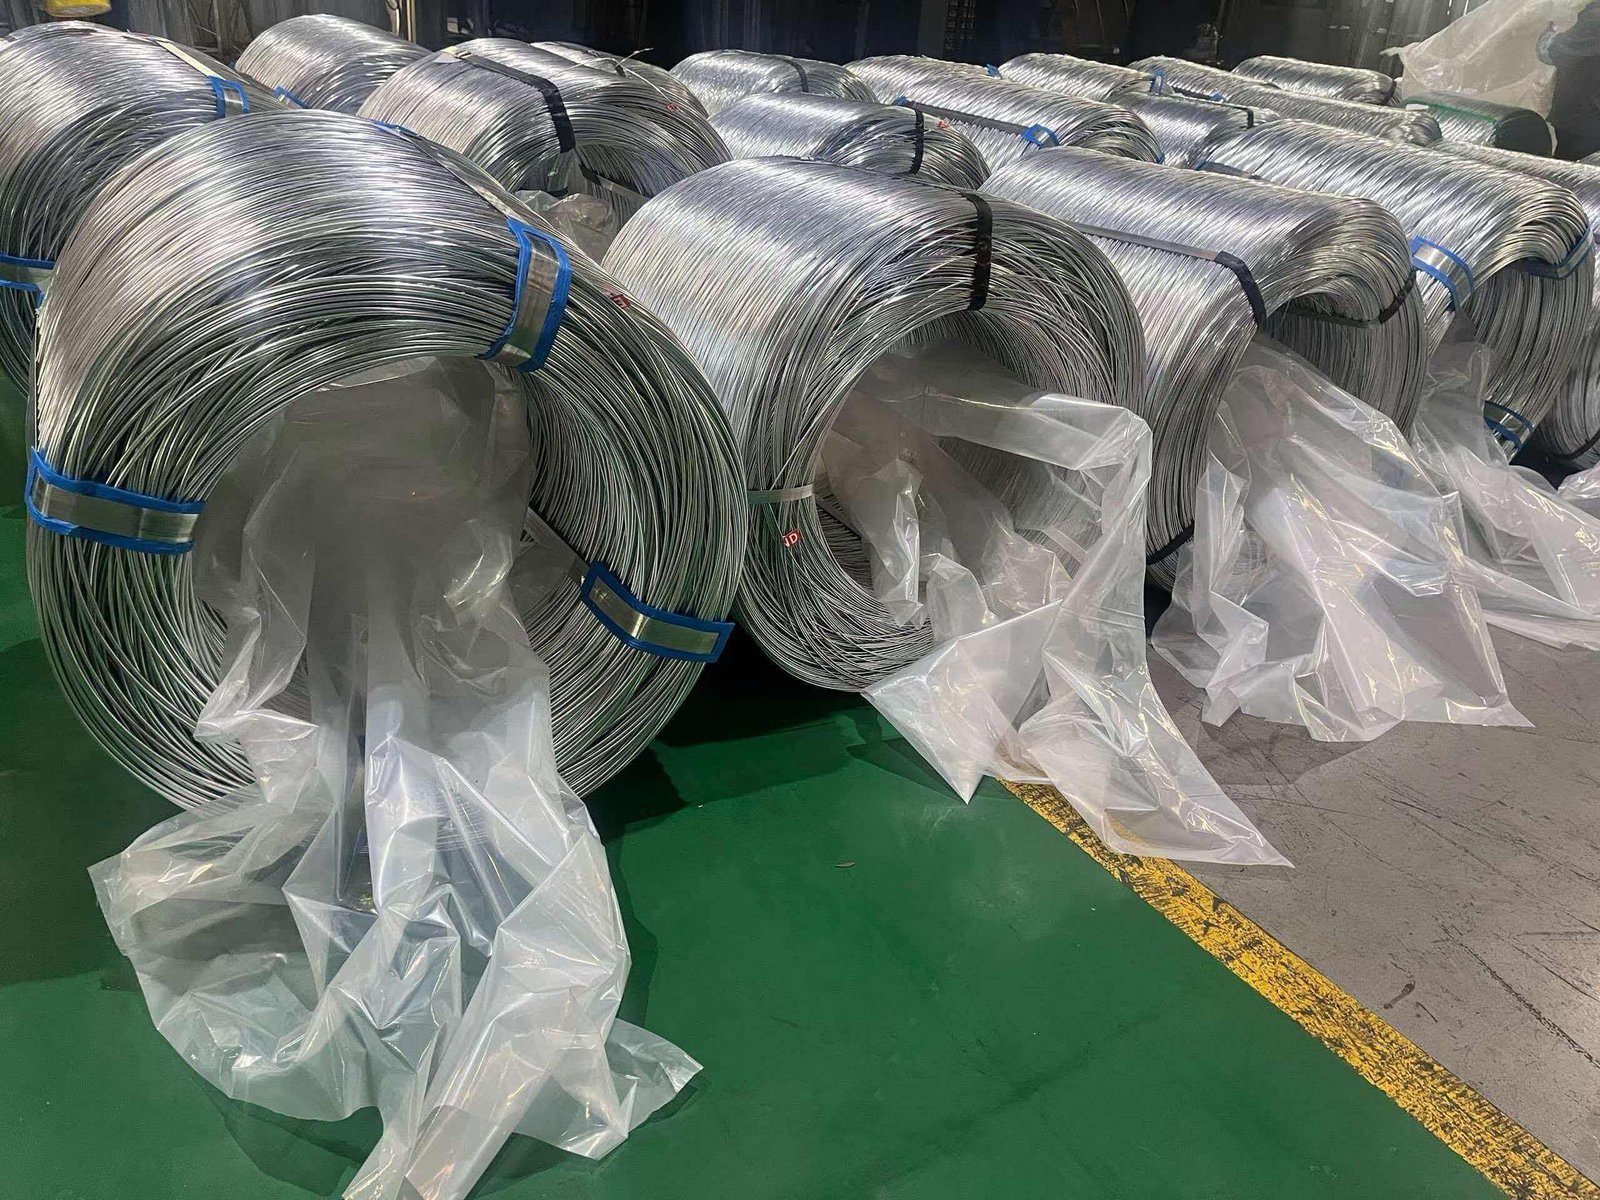
I cannot do laboratory tests at every delivery. Moses taught me field checks that work.
The first test is the bend test. I take a 30cm piece of wire. I bend it 180 degrees around a rod. Good wire bends smoothly without cracking. The zinc coating should not flake off in large pieces. If I see bare metal after one bend, the galvanizing is poor.
The second test is the twist test. I hold both ends with pliers. I twist the wire like making a tie. Quality wire twists evenly. Poor wire shows weak spots. It breaks before completing three full twists.
Moses carries a caliper to every delivery. He measures ten random pieces from different coils. A 1.6mm wire should measure between 1.56mm and 1.64mm. Anything outside this range causes problems. Thinner wire lacks strength. Thicker wire is hard to twist.
For galvanized wire, I check the coating. I scratch the surface with a nail. The zinc layer should resist light scratching. If bare metal shows immediately, the coating is too thin. Moses rejects any wire that shows rust spots inside the coil.
I learned about the touch test. Quality annealed wire feels slightly oily. This oil coating provides temporary rust protection. Dry wire with no surface feel usually has quality issues.
Moses also checks packaging. Each coil should have tight wrapping. Loose coils mean the wire expanded during transport. This indicates moisture damage or temperature problems. Wire that expanded may have internal stress points that cause breakage.
Here is Moses's rejection checklist:
Reject wire if:
- Diameter varies more than 0.08mm within one coil
- Zinc coating flakes off during hand bending
- Wire breaks before three complete twists
- Rust spots appear on more than two percent of surface
- Coil wrapping is loose or damaged
- Supplier cannot provide MTC (Material Test Certificate)
I ask for the MTC from the factory. This document shows the wire composition and tensile strength. Moses keeps all MTCs in his office. They help during project inspections and client audits.
Conclusion
Matching binding wire diameter to rebar size changed how I manage construction projects. The right combination saves money, protects workers, and prevents structural problems during concrete work.
We provide full MTC (Mill Test Certificate) and Certificate of Origin with every shipment.
We provide a full range of construction binding wire for African projects. Galvanized Iron Wire: https://mfgwiremesh.com/metal-wire/galvanized-iron-wire/ Black Annealed Iron Wire: https://mfgwiremesh.com/metal-wire/black-annealed-iron-wire/ 201 Stainless Steel Wire: https://mfgwiremesh.com/metal-wire/201-stainless-steel-wire/ Mix container loading supported.
If you are sourcing construction binding wire for Uganda or any African market, we are happy to provide a specification-based quotation. Contact us via WhatsApp: +86 15383180672.
FAQ:
Q1: Matching binding wire diameter to rebar size for Uganda construction.
A1: Use 1.2mm wire for rebar under 12mm diameter, 1.6mm wire for 12-20mm rebar, and 2.0mm wire for rebar over 20mm. This prevents wire breakage during concrete vibration on heavy structural elements and reduces worker fatigue on lighter rebar work. Moses stocks all three sizes on every project and separates them in labeled storage areas.
Q2: Calculating binding wire quantity based on rebar specifications.
A2: Count rebar intersection points, multiply by wire length per tie (35cm for small rebar, 45cm for large rebar), add 15% waste allowance, and convert to coil weight. A 10m x 10m slab with 200mm spacing requires approximately 1250 ties. Moses verifies these calculations across projects and reports accuracy within 5%.
Q3: Field quality checks for binding wire deliveries in Uganda.
A3: Perform a bend test (wire should bend 180 degrees without cracking or coating flaking), a twist test (wire should survive three complete twists without breaking), and diameter measurement with calipers (tolerance within ±0.04mm). Reject wire that fails any of these tests or arrives with loose coil wrapping indicating possible moisture damage during transport. Always request an MTC (Material Test Certificate) showing tensile strength above 350 MPa.