


Uganda's construction industry faces a fundamental choice in binding wire: pay less now or pay much more later. Understanding how to match wire specifications to Uganda's two rainy seasons and different application needs helps contractors avoid costly rework and keep projects on schedule.
Moses learned the hard way when cheap binding wire failed inspection on a government project. Buyers like him, who need clear guidance on construction binding wire for Uganda's demanding climate, can find detailed specifications on our product page: https://mfgwiremesh.com/metal-wire/galvanized-iron-wire/
I learned a hard lesson about binding wire selection last year. My project required rework because of rust, and it cost me nearly four thousand dollars. I want to share what I discovered so you can avoid the same mistake.
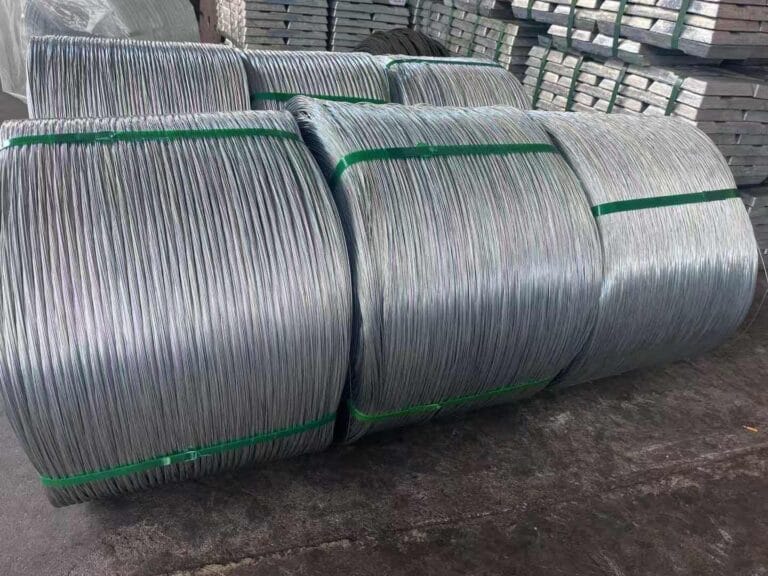
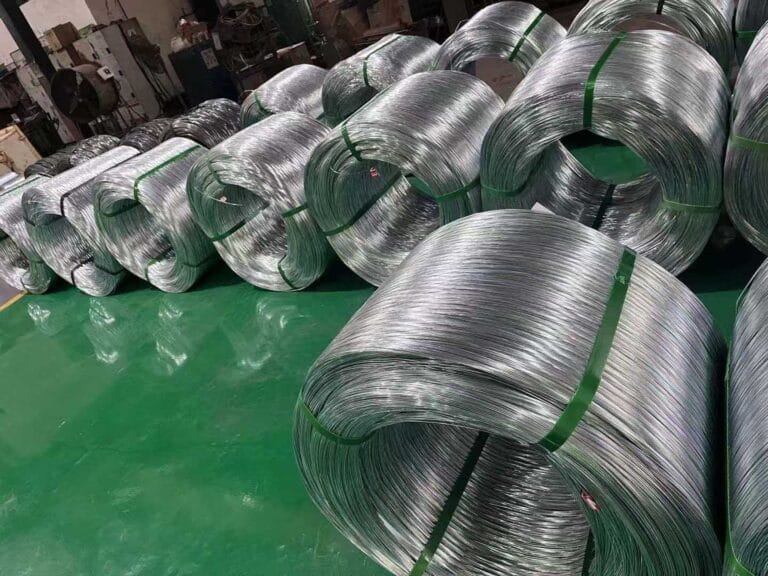
Choose galvanized binding wire with 40g/㎡ zinc coating for exterior work in Uganda's rainy seasons. Use black annealed wire for interior applications where moisture exposure is minimal. This combination saves money while ensuring structural reliability across different construction phases.
Most contractors in Kampala focus only on price when buying binding wire. I did the same thing for years. Then I got a government office building contract, and everything changed. The project timeline crossed Uganda's rainy season. My cheap binding wire failed inspection due to rust. The rework delayed the entire schedule.
What Makes Binding Wire Rust in Uganda's Climate?
I used to think all galvanized wire was the same. My supplier gave me the cheapest option, and I accepted it without questions. The wire looked fine when we tied the rebar.
Uganda has two rainy seasons annually. Binding wire exposed during construction needs adequate zinc coating to resist moisture. Thin zinc layers corrode within weeks, especially during March-May and September-November rainfall periods.
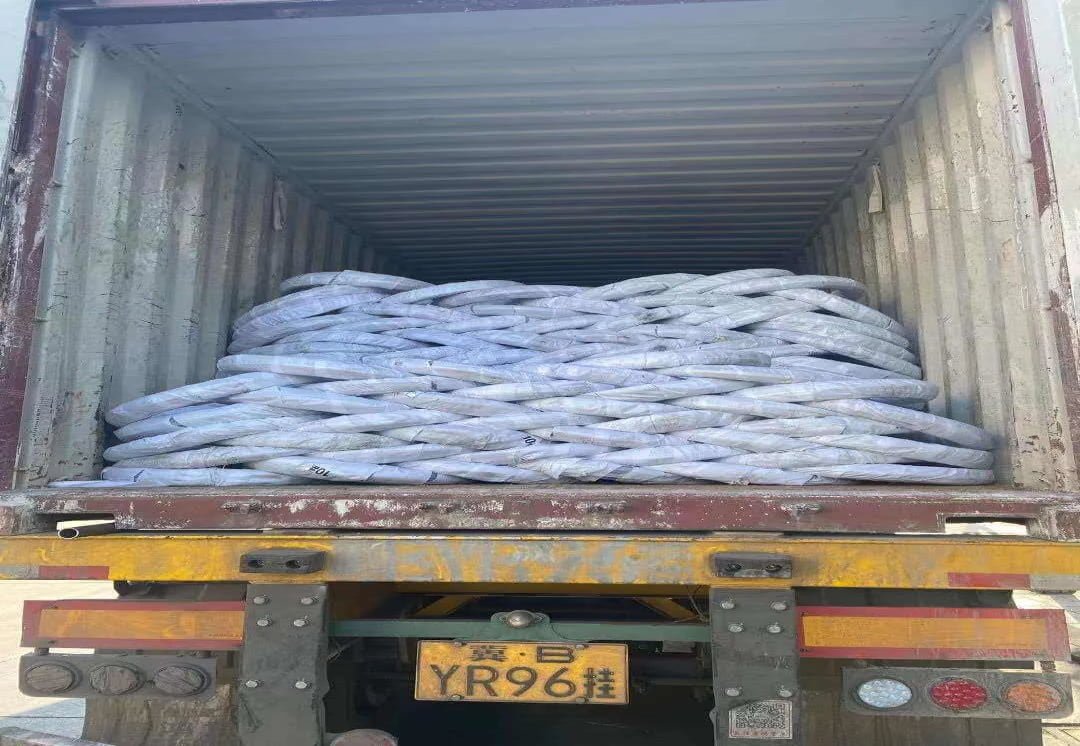
The inspector showed me the problem areas during that failed project. The wire had developed orange rust spots where the zinc coating wore off. He explained that thin zinc coating cannot protect the steel core in humid conditions. Uganda's climate demands better protection.
I researched zinc coating thickness after that incident. Standard galvanized binding wire comes with different coating weights. My previous supplier provided wire with only 15-20g/㎡ zinc coating. This specification works in dry climates but fails in tropical conditions. The coating thickness directly determines how long the wire resists corrosion.
| Zinc Coating Thickness | Exposure Duration | Suitable Application |
|---|---|---|
| 15-20g/㎡ | 2-3 weeks | Indoor, dry conditions |
| 30-35g/㎡ | 4-6 weeks | Light outdoor exposure |
| 40-50g/㎡ | 8-12 weeks | Extended outdoor construction |
| 60g/㎡+ | 16+ weeks | Long-term exterior projects |
The cost difference between thin and thick coating seems small per kilogram. However, the rework cost multiplies this difference by hundreds of times. I now specify minimum 40g/㎡ zinc coating for all exterior structural work. The supplier provides a material test certificate showing the exact coating weight.
Why Do Contractors Mix Galvanized and Black Annealed Wire?
My original thinking was simple. If galvanized wire prevents rust, why use anything else? I wanted to standardize on one type to simplify procurement and avoid confusion on site.
Black annealed wire costs 15-20% less than galvanized wire and offers superior flexibility for interior binding work. Interior applications involve no direct moisture exposure, making the zinc coating unnecessary and economically wasteful.
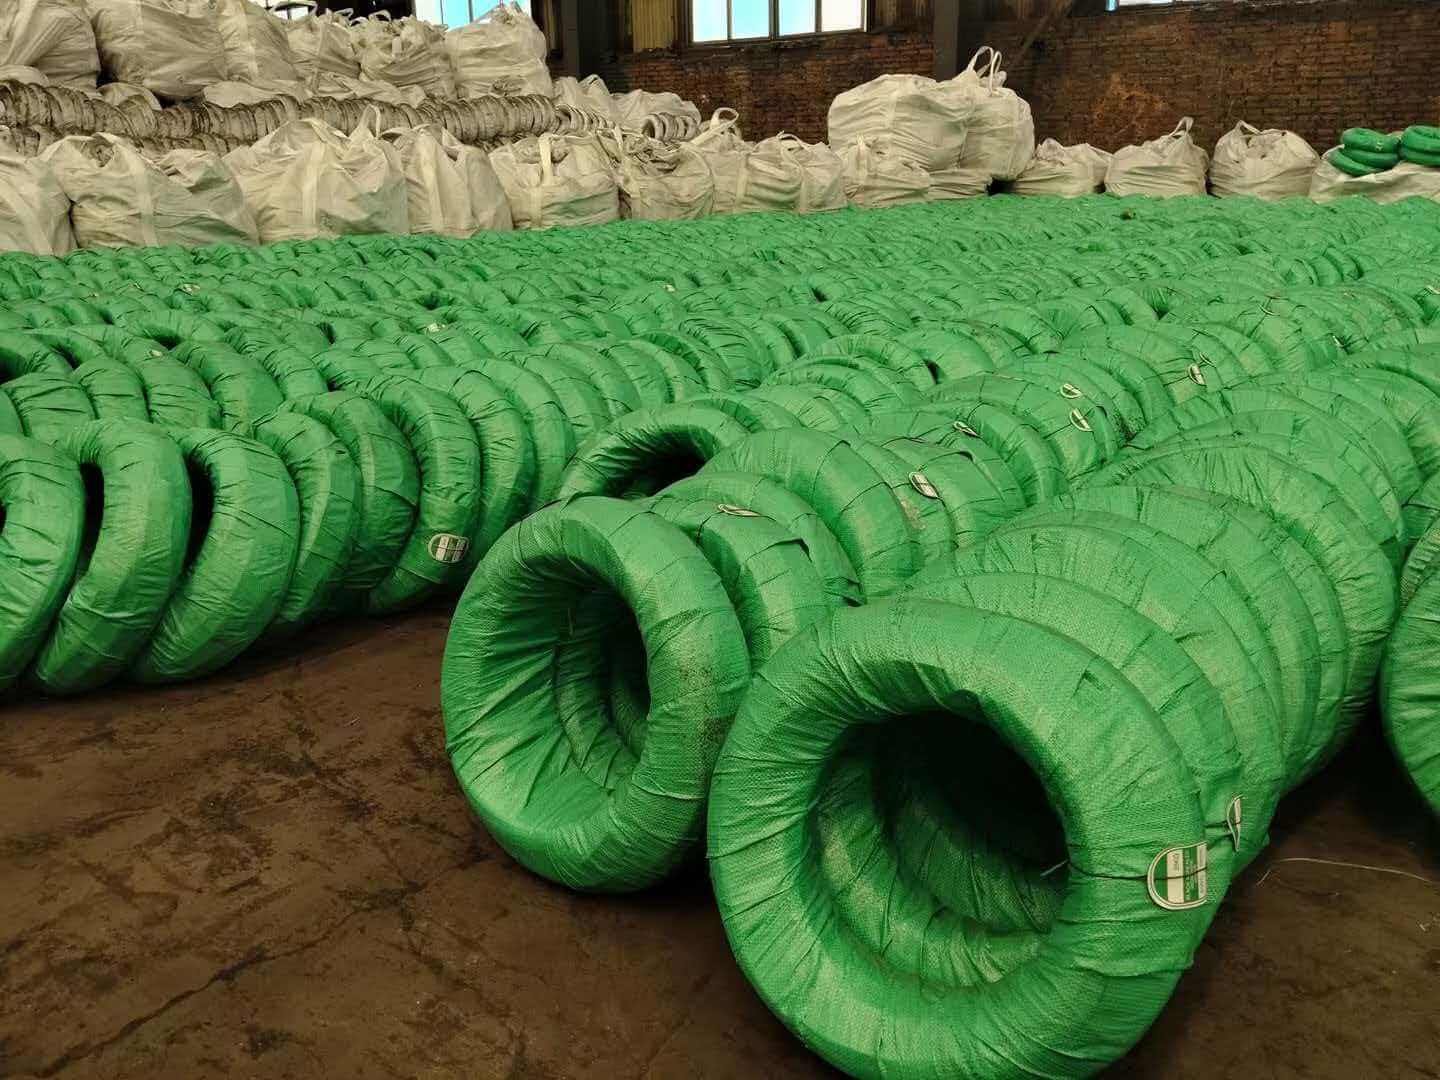
The economics changed my mind completely. I calculated the binding wire consumption for my current project. The total requirement reached 8 tons across six months. Using galvanized wire everywhere would cost approximately $1,200 more than a mixed approach.
Interior partition walls represent about 30% of my binding wire usage. These walls get plastered within days of rebar tying. The wire never sees rain or extended humidity. Black annealed wire performs perfectly in these conditions. The softer material also speeds up the tying process because workers can twist it more easily.
My crew initially resisted the change. They worried that two types of wire would create confusion and mistakes. I addressed this concern through clear labeling and storage separation. We keep galvanized wire in blue bags and black annealed wire in white bags. The site foreman assigns specific wire types to different work zones each morning.
The flexibility advantage of black annealed wire became obvious within the first week. Workers reported 20-25% faster tying speed for interior work. The wire bends easily without breaking, even when workers twist it multiple times. Galvanized wire sometimes snaps during aggressive twisting because the zinc coating makes it slightly brittle.
| Wire Type | Cost per Ton | Best Uses | Flexibility Rating |
|---|---|---|---|
| Galvanized 2.0mm | $850-900 | Exterior structural work | Medium |
| Black Annealed 2.0mm | $680-750 | Interior applications | High |
| Galvanized 1.6mm | $820-870 | Light exterior binding | Medium-High |
| Black Annealed 1.6mm | $650-720 | Non-structural interior | Very High |
I now maintain a 70-30 ratio between galvanized and black annealed wire for typical projects. Structural columns and beams always use galvanized wire because these elements often remain exposed for weeks during construction. Interior walls and ceiling supports use black annealed wire because they get enclosed quickly.
How Does Wire Diameter Affect Construction Quality?
I used to order 1.6mm wire for everything because it cost less than 2.0mm wire. The price difference seemed significant when buying multiple tons. My quantity surveyor recommended the thinner wire to reduce material costs.
Wire diameter determines binding strength and durability. Uganda's building codes require 2.0mm minimum diameter for structural elements. Using 1.6mm wire saves 15% on material costs but creates 40% higher breakage risk during concrete pouring.
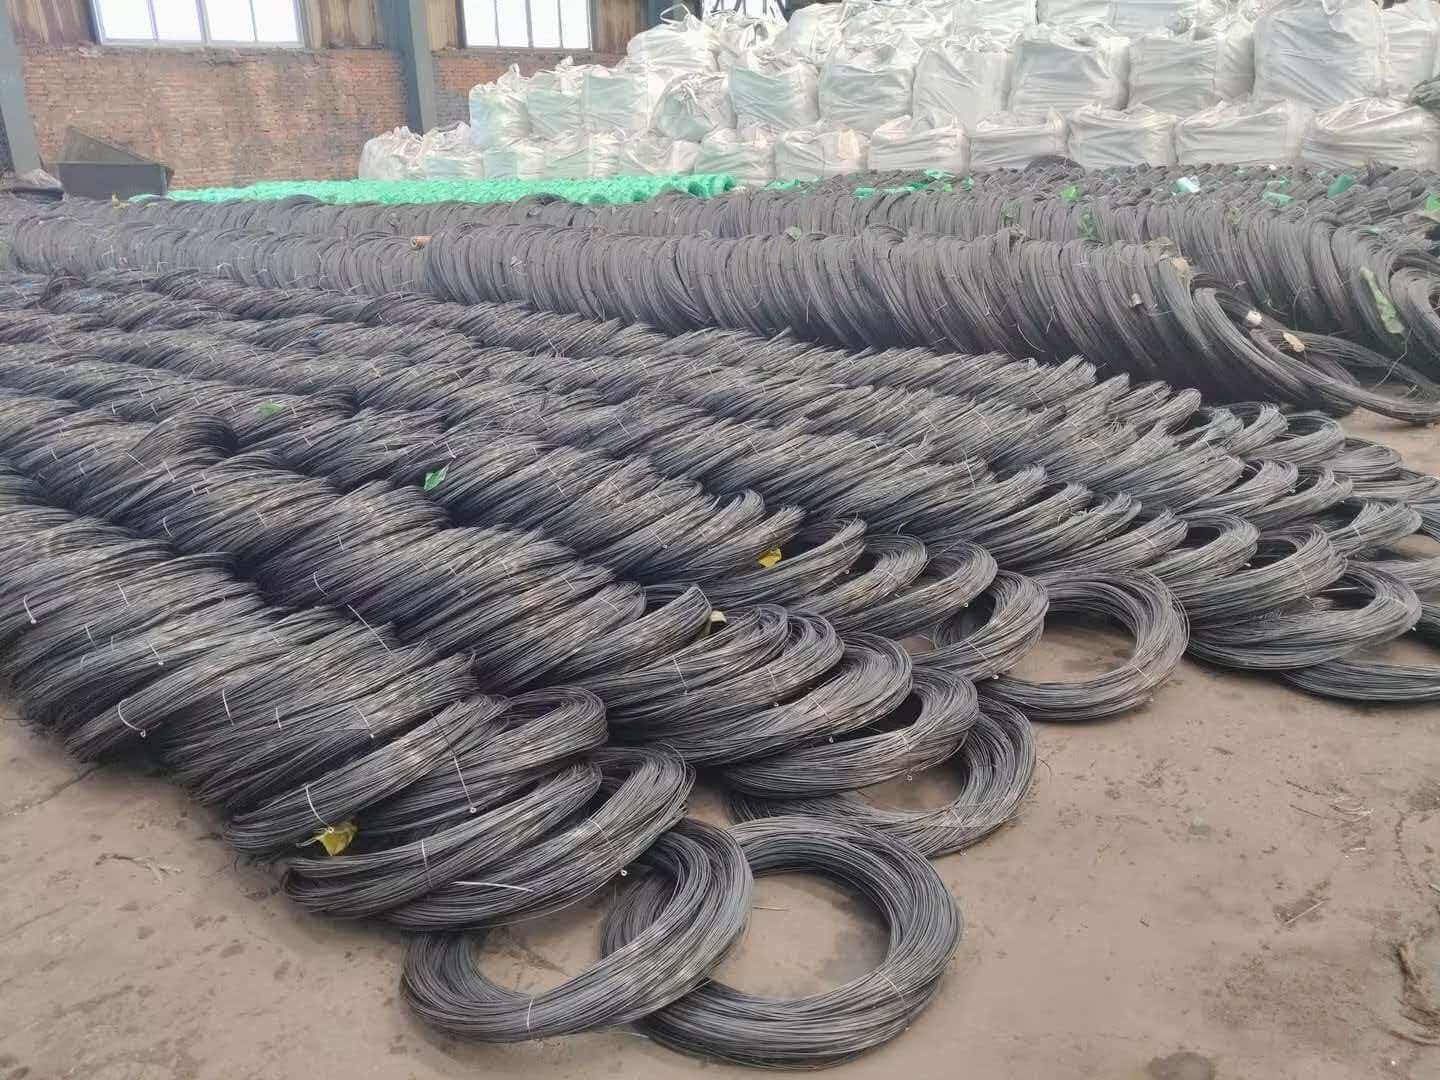
The concrete pouring revealed the weakness of thin wire. Vibrator operators moved through the formwork to consolidate the concrete. The vibration stress snapped several 1.6mm wire bindings on my early projects. Some rebar shifted position before the concrete set completely. The structural engineer flagged these sections during inspection.
Thicker wire withstands construction stresses much better. The 2.0mm wire holds rebar firmly even when workers walk on the reinforcement mat or when concrete flows through the formwork. I tested this difference directly on my current project. One section used 1.6mm wire and another used 2.0mm wire under identical conditions.
The breakage rate told the complete story. The 1.6mm section had approximately 12% of bindings fail during concrete placement. The 2.0mm section showed less than 2% failure. This difference matters tremendously for structural integrity and inspection approval. Replacing broken bindings during concrete pour delays the work and creates cold joints.
The cost analysis surprised me when I calculated it properly. Thicker wire costs about 8% more per kilogram than thinner wire. However, structural work requires fewer binding points with 2.0mm wire because each binding carries more load. The total wire consumption actually stays similar between the two diameters.
| Application Area | Recommended Diameter | Binding Spacing | Strength Benefit |
|---|---|---|---|
| Column rebar | 2.0mm | Every 300mm | High vibration resistance |
| Beam reinforcement | 2.0mm | Every 400mm | Prevents shifting during pour |
| Slab mesh | 1.6mm | Every 500mm | Adequate for light loads |
| Wall panels | 1.6mm | Every 400mm | Sufficient for vertical elements |
I now use 2.0mm wire as my standard diameter for all structural elements. The inspector never questions the binding quality anymore. Workers report that thicker wire feels more secure when they walk on the rebar mats during installation of upper layers. The material cost increase gets offset by reduced rework and faster inspection approval.
What Should You Check When Receiving Binding Wire?
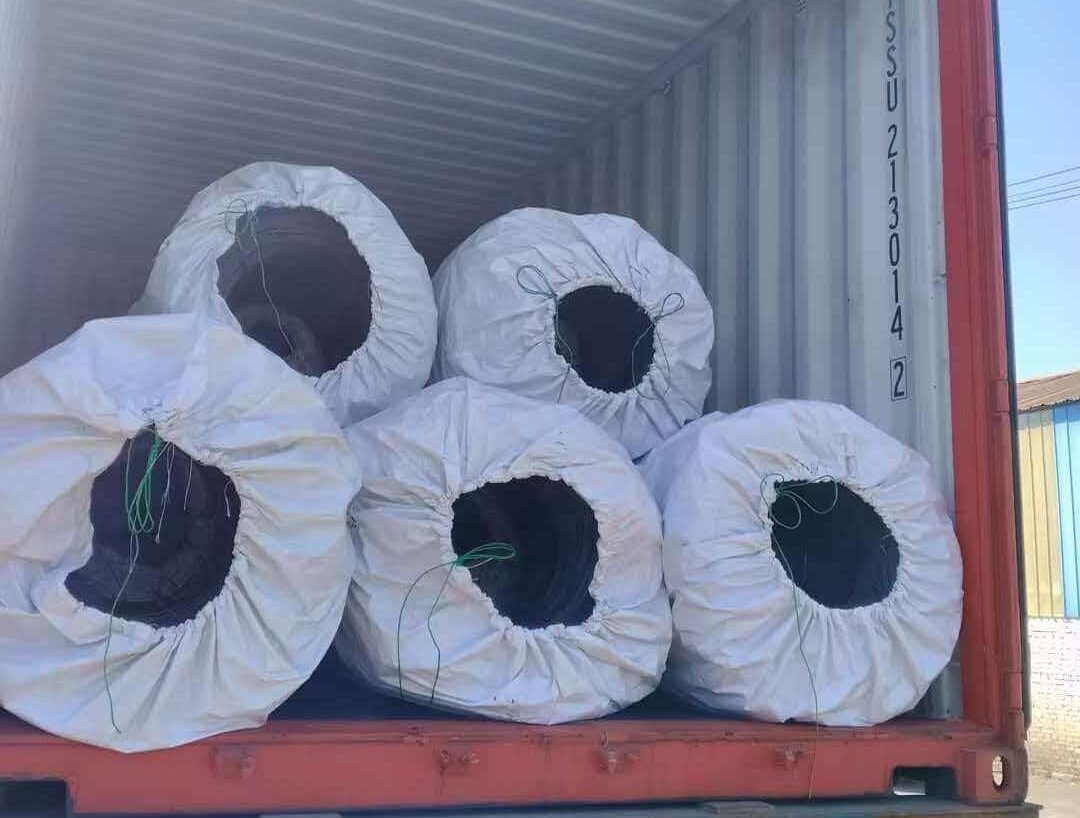
My first supplier delivered wire that looked acceptable on the outside. The coils appeared properly packaged and the wire surface seemed smooth. I signed the delivery note immediately and stored the material on site.
Check zinc coating uniformity, wire diameter consistency, and package moisture protection upon delivery. Request material test certificates showing coating weight and tensile strength. Reject any coils with visible rust spots or irregular diameter variations.
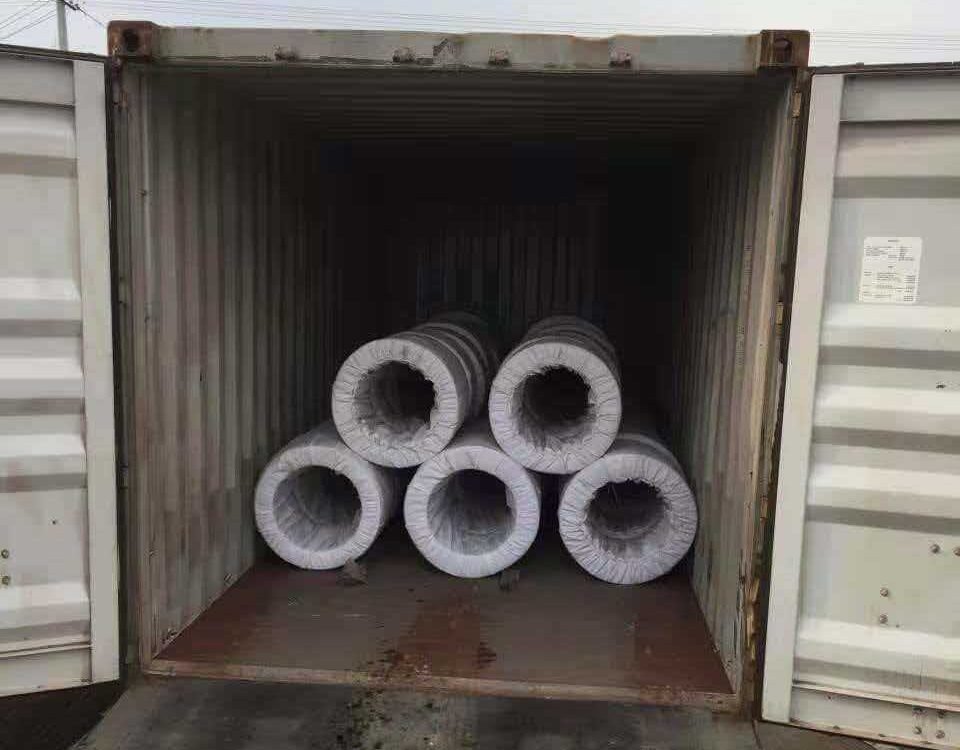
The problems appeared when workers started using that wire. Some sections had thin zinc coating that rubbed off easily. Other sections showed diameter variations where the wire measured 1.8mm instead of the specified 2.0mm. These inconsistencies created binding strength problems across the project.
I developed a systematic inspection process after that experience. My site engineer now spends 20 minutes checking every wire delivery before acceptance. We randomly select three coils from different positions in the shipment. Each coil gets tested for diameter, coating quality, and flexibility.
The diameter test uses a simple digital caliper. We measure the wire at ten different points along a two-meter length. The readings should stay within 0.05mm of the specified diameter. Larger variations indicate poor manufacturing quality control. I reject shipments that fail this tolerance check.
Coating quality requires visual inspection under good lighting. Smooth, uniform gray color indicates proper zinc coating. Rough patches, dark spots, or shiny areas suggest coating defects. We bend the wire sharply and examine the bend point. The coating should not flake off or crack at the bend.
| Inspection Point | Acceptance Criteria | Rejection Indicators |
|---|---|---|
| Diameter tolerance | ±0.05mm variation | >±0.08mm variation |
| Coating uniformity | Smooth gray surface | Rough patches, dark spots |
| Coating adhesion | No flaking at bend | Coating cracks or peels |
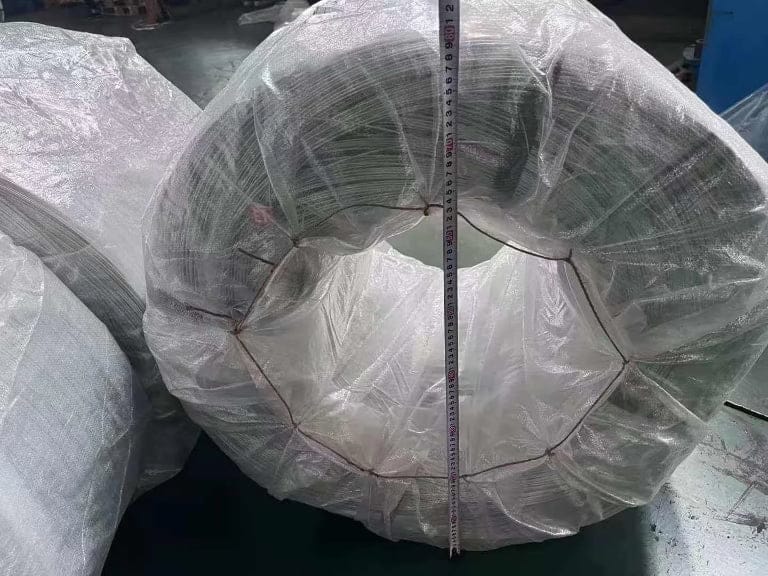
| Package condition | Dry, intact wrapping | Moisture, torn bags |
| Documentation | Valid MTC provided | Missing certificates |
The material test certificate provides crucial information that visual inspection cannot determine. The certificate shows exact zinc coating weight, tensile strength, and steel composition. I compare these values against my specification requirements before accepting delivery. Some suppliers provide certificates that do not match the actual delivered material.
I learned to request batch-specific certificates rather than generic documents. A batch-specific certificate includes the production date, coil serial numbers, and actual test results from the delivered batch. Generic certificates often show ideal values from a different production run. The supplier should provide this documentation before unloading begins.
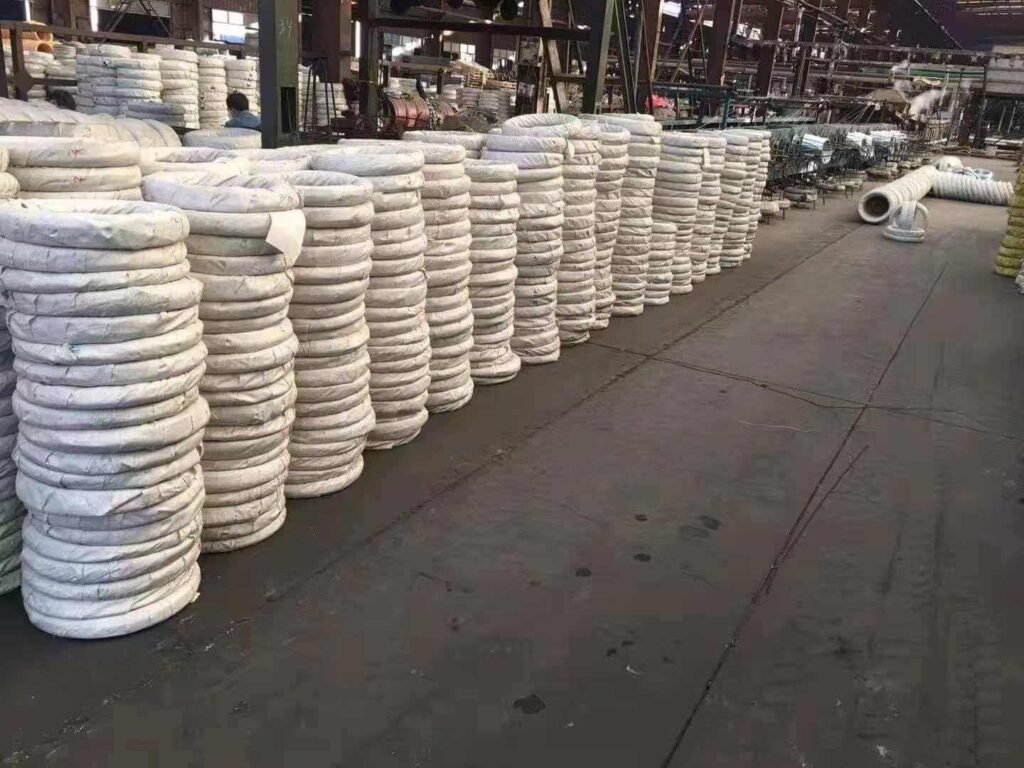
Storage protection became another important lesson. I used to pile wire coils directly on the ground near the work area. Rain and ground moisture damaged the bottom coils even when they had good zinc coating. We now store all wire on wooden pallets under waterproof covers. This simple change eliminated about 5% material waste from storage-related corrosion.
How Do You Calculate Binding Wire Quantity Accurately?
I used to estimate binding wire needs based on rough rules of thumb. Someone told me to order about 8 kilograms of wire per ton of rebar. This approximation worked sometimes but created problems on other projects. We either ran short during critical work phases or had excess wire sitting unused after completion.
Calculate binding wire quantity by counting tie points and wire length per tie. Multiply rebar intersections by 0.3 meters per binding point, then add 15% waste allowance. This method provides accurate estimates within 5% of actual consumption.
The detailed calculation method requires more initial effort but saves money overall. I start by reviewing the structural drawings to count rebar intersections. Each intersection where two rebars cross needs one binding point. Typical column designs have 50-80 binding points depending on height and reinforcement density.
The wire length per binding varies with rebar diameter and tying technique. My workers use approximately 25cm of wire for tying 12mm rebar and 35cm for tying 20mm rebar. These lengths include the wire wrapped around both bars plus the twisted portion that secures the binding. Thicker rebar requires longer wire lengths for adequate grip.
I created a simple spreadsheet that calculates total requirements based on rebar quantities from my bill of materials. The spreadsheet multiplies rebar weight by standard binding point density, then converts to wire length requirements. This automation reduced my estimation time from hours to minutes.
| Structural Element | Binding Points per Ton | Wire Length per Point | Total Wire per Ton |
|---|---|---|---|
| Columns | 850-950 points | 0.30m | 6.5-7.2kg |
| Beams | 750-850 points | 0.28m | 5.8-6.5kg |
| Slabs | 1200-1400 points | 0.25m | 7.8-9.0kg |
| Walls | 1000-1100 points | 0.26m | 6.8-7.5kg |
The waste allowance accounts for several factors that affect actual consumption. Workers cut wire lengths with some variation in size. Dropped pieces get stepped on and become unusable. Some bindings require replacement when inspectors request adjustments. The 15% allowance covers these normal losses without excessive overbuying.
Special situations require adjustment to the basic calculation. Projects with complex geometry or heavy reinforcement density need more binding points per ton of rebar. I increase the estimate by 20% for these conditions. Similarly, inexperienced crews waste more material during learning, so I add extra allowance for their first few weeks.
My current project used this calculation method and the results proved highly accurate. We ordered 7.8 tons of binding wire based on the detailed estimate. Actual consumption reached 7.6 tons at project completion. The 2.5% variance meant we had minimal excess material while never running short during construction.
Conclusion
Choose binding wire based on application requirements rather than price alone. Use galvanized wire with adequate zinc coating for exterior structural work and black annealed wire for interior applications. This approach balances cost efficiency with long-term reliability in Uganda's challenging climate conditions.
We provide full MTC (Mill Test Certificate) and Certificate of Origin with every shipment.
We provide a full range of construction binding wire for African projects. Galvanized Iron Wire: https://mfgwiremesh.com/metal-wire/galvanized-iron-wire/ Black Annealed Iron Wire: https://mfgwiremesh.com/metal-wire/black-annealed-iron-wire/ 201 Stainless Steel Wire: https://mfgwiremesh.com/metal-wire/201-stainless-steel-wire/ Mix container loading supported.
If you are sourcing construction binding wire for Uganda or any African market, we are happy to provide a specification-based quotation. Contact us via WhatsApp: +86 15383180672.
FAQ:
Q1: Choosing the right zinc coating thickness for Uganda's rainy seasons.
A1: Use galvanized binding wire with minimum 40g/㎡ zinc coating for exterior structural work in Uganda. The country's two rainy seasons create prolonged moisture exposure that corrodes thin zinc layers within weeks. Thicker coatings of 60g/㎡ or more provide extended protection for projects with longer construction timelines. Always request a material test certificate showing the exact coating weight before accepting delivery.
Q2: When to use black annealed wire instead of galvanized wire.
A2: Use black annealed wire for interior applications where moisture exposure is minimal, such as partition walls, ceiling supports, and non-structural elements. Black annealed wire costs 15-20% less than galvanized wire and offers superior flexibility for faster hand-tying. Keep a 70-30 ratio between galvanized and black annealed wire for typical Uganda projects, with galvanized wire reserved for all exterior and structural work.
Q3: Inspecting binding wire quality upon delivery.
A3: Check three key aspects when receiving binding wire: diameter consistency using a digital caliper (tolerance within ±0.05mm), zinc coating uniformity through visual inspection under good lighting, and package moisture protection. Request batch-specific material test certificates showing coating weight and tensile strength. Reject any coils with visible rust spots, irregular diameter variations, or coating that flakes off during bend testing.